1st finished project of 2015 PART 2
どうも!Welcome again and thanks for your continued interest in following this project log. As a recap, this project log covers my build process for the HGUC 1/144 RX-78-GP02A:
 |
| Box Art |
For part 1 of this log, CLICK HERE
When we ended Part 1, the parts were already primed with a white primer straight from a spraycan. Again, I think it is best to let primers rest for 24 hours. This will let the primer cure and properly grip the plastic and also enable you to PLAN WELL with your strategy in painting the parts. You could already handle the parts after an hour if for example you need to mask things up. But for my case, masking parts will have to wait for I need to do pre-shading as the next important step.
Another Build Preview:
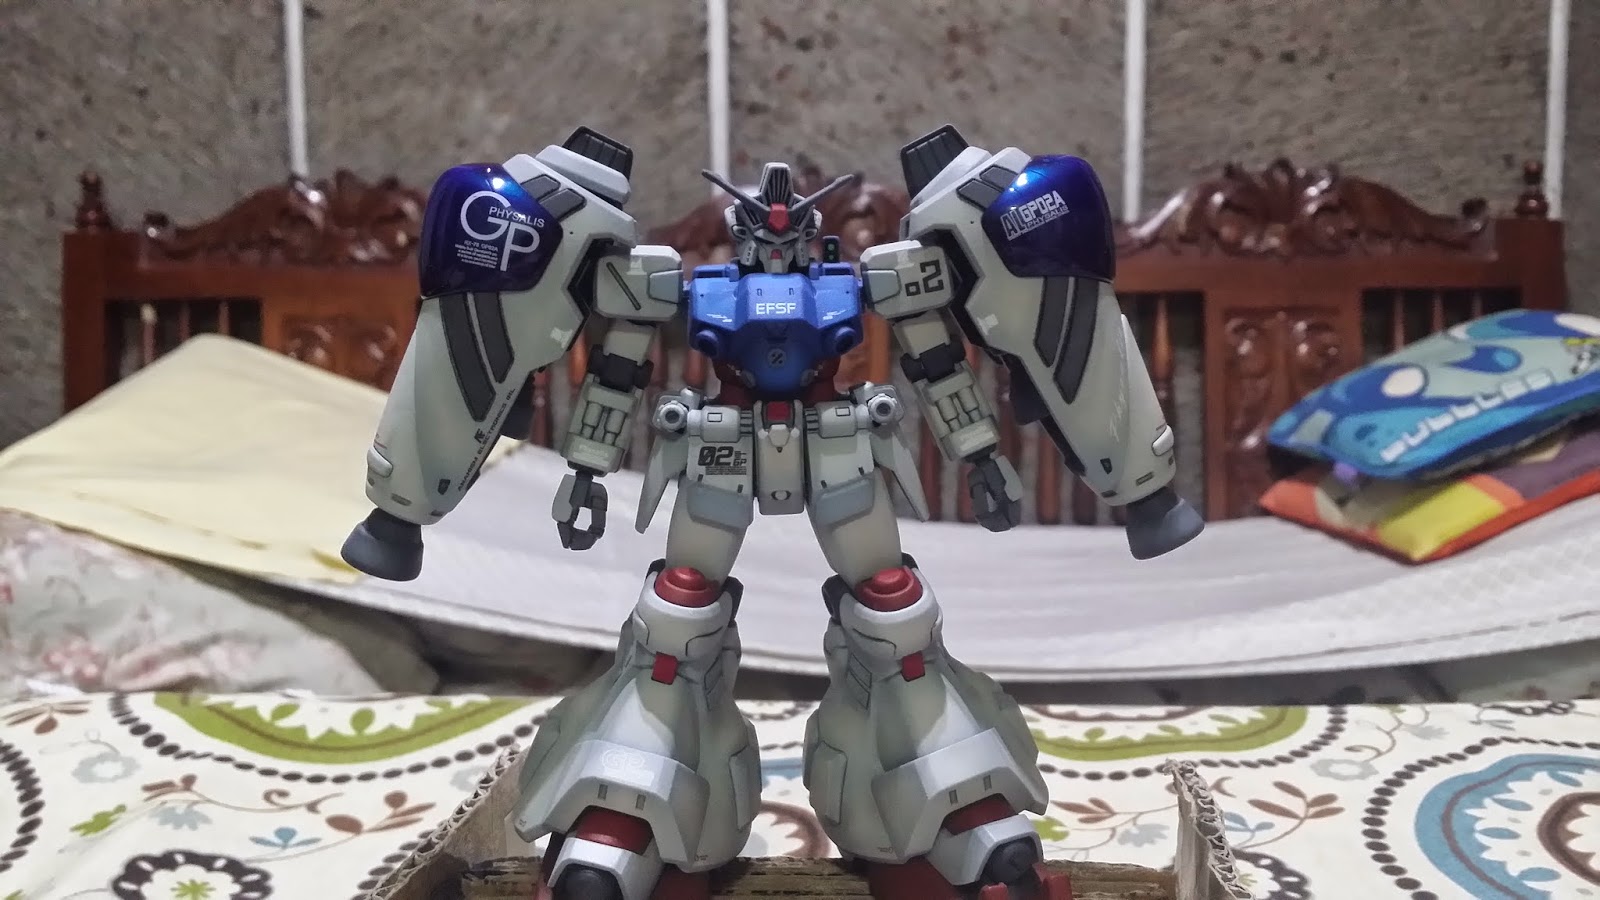 |
| Mobile suit with the shoulder binders only |
Pre-shading
Pre-shading is one of the techniques in shading your plastic models. Pre-shading is a method of providing shading to parts before applying the first base coat of color of your liking. The main concept is that by using darker colors as your undercoat, you can produce different shades of your base color. This technique has been used by military modellers and miniature wargamers in painting figures and armors alike. Pre-shading is also done to simulate shadows in recesses on a surface and accentuate panel lines or where metal panels meet, for example in tanks. It also uses the concept of gradation when using airbrush in painting.
Okay, for my build, my method of preshading is I think a more widely used one. The method is to airbrush the darker color to line out recesses, panel lines, bolts or generally every where you want to create shadows on. To start it off, I deliberately used white primer. Having white as your undercoat will help keep the true color of the paint your are using. Using black as an undercoat will make any color over it turn to the darkest shade it can become. Using this concept of different undercoats, you can create gradation of colors by just using a single color of paint.
Here is after I pre-shaded my kit:
 |
| Airbrushed black paint on panel lines and recesses |

After painting the black pre-shading, you just have to spray on the base color you want to use. I used Vallejo USAF Light Grey for the main color of the GP02. What you need to make sure of is to spray on very thin coats. Only paint thickly on places you need to have the color the brightest. The end result is a gradation from a Light Grey color turning to a Medium Grey color where the light grey paint hits the black preshading.
 |
| Please note that for the shield, it is only a first attempt. I decided to improve it later on |
Now you might ask, Can we pre-shade using permanent markers or paint markers?
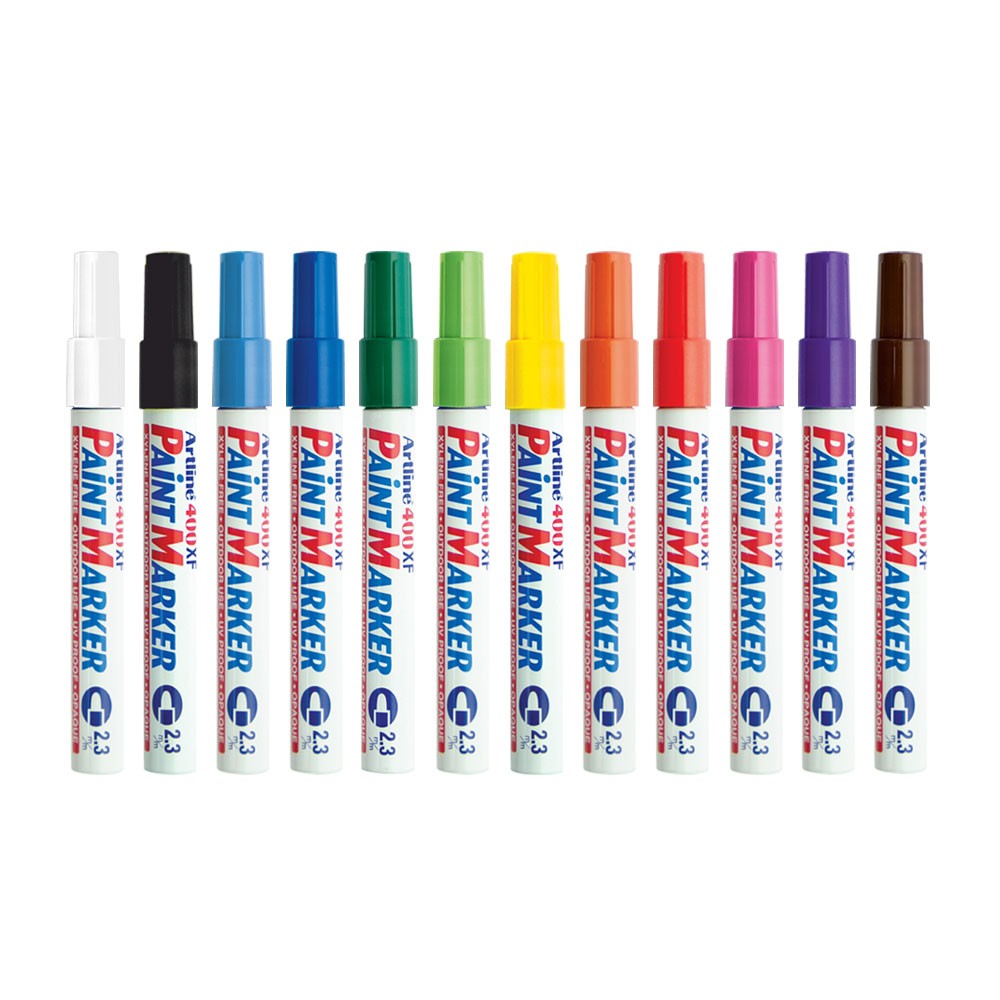
The answer is a big freaking NO. To ensure that your finish will be okay, do not use markers at all.
I haven't experienced it but modellers report that since the markers have an oil component on them. This component will not mix well with acrylics and probably some other paints. It will look good during the first days, but it was reported that eventually as the paint cures, the ink from the marker will bleed out and more correctly not just bleed, it actually takes over like below.
 |
| Picture from http://www.ratomodeling.com |
If you'd like to read more about this phenomenon, go to this page.
Highlighting
Once I have finished painting the base colors, found that some preshading didn't really work. This primarily happened on parts that I used German Grey and Dark Panzer Grey, in other words, the black preshading might get erased if the paint you will spray over is relatively dark as well. The solution I used is highlighting. Highlighting is also used in all forms of plamo building. This is to brighten up places in parts where you want to simulate light striking it. The trick is to follow the opposite of what you do in preshading. This time, you will use a brighter color than your base color. For my own technique, I just white paint. I usually mix 1:1 or 50% base color + 50% white color. This will be usually enough to brighten your target parts. I basically highlighted the dark grey and dark blue colored parts as I wanted to enhance the shading. Example is below: |
| Sprayed a mixed of Vallejo Dark Panzer Grey and White for the highlights |
Anyway, here are some pics of the painting activities I did further:
 |
| Repainted the shield |
 |
| Featuring the shield, leg armor and the shoulder binder |

 |
| I tested to see the overall look of the body parts as it is |
 |
| Shoulder binders now painted as I wanted them |

Well then, that's it for now. Hope you learned some thing from this log so far.
For the next part, I continued with protecting the paint job and adding decals to prepare for the final coating and assembly.
Thank you very much for reading all through this. I hope you enjoyed and learned from it.
Hi sir how much psi do you use when preshading?
ReplyDeleteBy the way I posted this blog on our group gundam builders and collectors because I really find your blog very informative and easy to understand. This will help us specially our newbies to improve on this hobby. Keep up the good work and godbless hehe ^^V
Hello Aga,
DeleteThanks for sharing this. Regarding your question, my PSI is now locked between 8-10PSI or 0.5bar. Pre-shading or general spraying, I always use the said air pressure because I usually thin my paints into that milky consistency that youtubers always mention - and a low pressure will help you avoid pooling and enables you work very close to the surface you are painting on without splashing out the paint all over. Of course, I would have to say that I am using a gravity-feed double action airbrush and so that air pressure is workable. If anyone will use a siphon-feed type, they might have to crank the pressure higher - probably working 10-12PSI instead.
I'll try to share more info and tips in the future. Thanks and God bless as well :D
Can pre-shading be done with Paint Brush?
ReplyDelete@DummyJones, if you're going to use a hand/paintbrush, pre-shading won't work properly. You might have to use enamel paints so could blend the colors while it is wet. But you can do actual post-shading and highlighting using paintbrushes. This has been done by those who paint miniatures (Warhammer) due to the small sizes of the kits. Try searching in Youtube for things like Games Workshop, Warhammer, etc. I have seen whole kits painted by hand and the only thing not handpainted was the primer. :)
Delete